The Retro Gaming Starter Pack: Understanding Emulators & ROMs
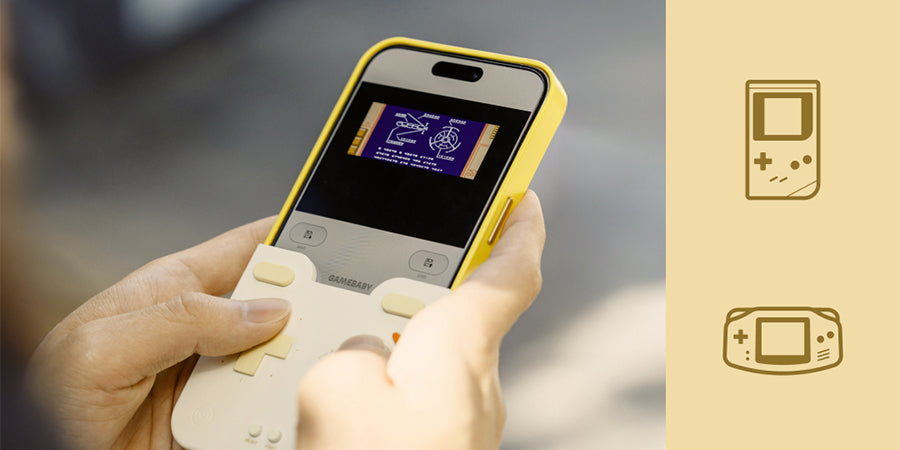
So, you’ve got your GAEMBABY Case. You’ve felt the satisfying click of the buttons and the nostalgic texture in your hand. You’ve nailed the Physical Experience.
Now, it’s time to give your iPhone its Digital Soul.
To transform your iPhone into the ultimate handheld, you need to understand two key components: Emulators and ROMs. Here is everything you need to know to get started.
1. The Emulator: Your Virtual Console
Emulators serve as digital players for retro games, recreating the experience of classic consoles on your iPhone. Currently, Delta is the most popular and user-friendly option available on the App Store.
If you're new to the setup, we’ve broken down the entire process in our walkthrough:
👉 [Full Guide: How to Setup Delta]
 2. The ROM: Your Digital Game Cartridge
If the emulator is the "Console," then the ROM is the "Game Cartridge"—the digital file containing all the game's data.
Finding Your Favorites
Building a digital library is a straightforward process. Most players find their favorite classics by searching for terms like "GBA ROMs," "GBC ROMs," or "NES ROMs" online. Once a file is downloaded, it typically saves directly to the Files app on your iPhone, where it can be imported into your emulator with a few taps.
Need a visual? This [video] makes it easy. For everything else, join the conversation over at r/Roms on Reddit.

3. Why Physical Buttons are the Final Piece
You might wonder: "Can’t I just play on the touchscreen?"
Technically, yes. But for any retro enthusiast, glass just isn't the same. It lacks the tactile soul of the original experience. When you snap on the GEMEBABY Case, something magical happens. The physical feedback aligns perfectly with the action on screen, bridging the gap between hardware and software.
It’s no longer just an iPhone. It’s your childhood, reborn in your pocket.